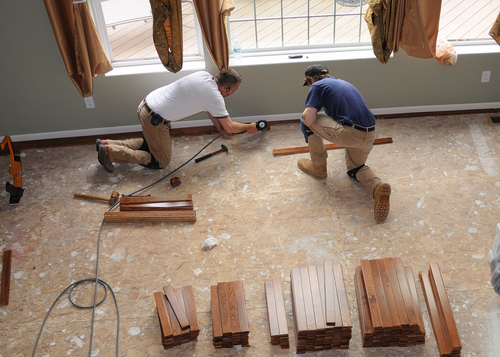
When replacing the floors in your home, it is essential to work with someone that will help you improve the appearance of your floors while also maintaining their integrity. If you have vinyl tiles in your home, and you wish to replace the tiles with another type of flooring, you might get away with placing some materials directly on top of the existing tiles.
Carpet, sheet vinyl, and even some wood floor systems can be installed right on top of the vinyl tiles already in place in your home. If you want to install ceramic tiles, however, you’ll have to install a subfloor covering before proceeding with ceramic tiles.
Subflooring provides a firm and level surface for your finishing material to sit on, no matter whether you choose to install wood, vinyl, or ceramic tiles. When it comes to tile, in particular, subflooring can also help to prevent cracks in the tile grout and even the tile itself.
There are many types of subflooring, but just a few preferred brands include Durarock, Hardi Board, and Wonder Board. Some tile manufacturers prefer to use plywood as a subfloor material. If you want to know more about subflooring, here are a few recommendations:
Bond and Level
Before you proceed with installing your new subfloor, you should lay a bed of thinset mortar and make sure you place the subfloor on before the mortar sets up. This can be done with the flat side of the trowel. Thinset mortar will help your new subfloor bond to the old flooring. It will also smooth out the surface and level any pockets that may have formed as the floor expanded and contracted over the years.
Rough Side Up
If you’re installing a preferred brand of subfloor, such as Durarock, Wonder Board, or Hardi Board, you must be sure to lay the subfloor with the rough side facing up. When installing plywood as a subfloor material, it might not particularly matter, but some plywood will have one side that is noticeable smoother and more level than the other.
Securing Subfloor
Some recommendations advise you to nail your floorboards at intervals of six inches on the sides and eight inches on the remainder of the board. While this is certainly appropriate for many types of flooring, it can help to use intervals of four inches and six inches when working with tile, in order to prevent cracking.
When attaching your subflooring, you should use a ring shank nail or a floor screw to solidly secure the floor. Beware of using staples, and make sure that your nails or screws are long enough to penetrate the subfloor and the original underlayment. If your subflooring shifts, the tile or hardwood flooring on top is likely to suffer damage.
Future Movement
Many installers overlook the fact that the home and floor system will naturally move over time. Your subflooring and decking rests on floor joists that are usually about 16 inches apart. The weight of your home sits on these joists and, over time, they can be pushed down considerably, and even bent.
The entire load of your home essentially pushes on your floor system. Extra floor joists or solid blocks can be placed under walls that are likely to cause future damage. Most experienced carpenters, or professional flooring companies, like Smith Bros, can easily add the extra bracing needed.